
Here at SQLite Cloud, we’re big fans of Hashnode, the developer blogging platform. Recently, we noticed that there is no “out-of-the-box” full-text search for Hashnode. So, we decided to build a simple solution using SQLite Cloud. After following this guide, you will have full-text search for your custom Hashnode blog (for free!).
Step 1: Back-up your Articles to GitHub
Our documentation’s full-text search implementation requires a GitHub repo of markdown to ingest, parse and index. Luckily, Hashnode makes it easy to export your blog content to a GitHub repo - we followed this guide, and it worked quite well.
Step 2: Set up a SQLite Cloud database
You will need a SQLite Cloud account to complete this tutorial, so if you haven’t yet, create a free account here.
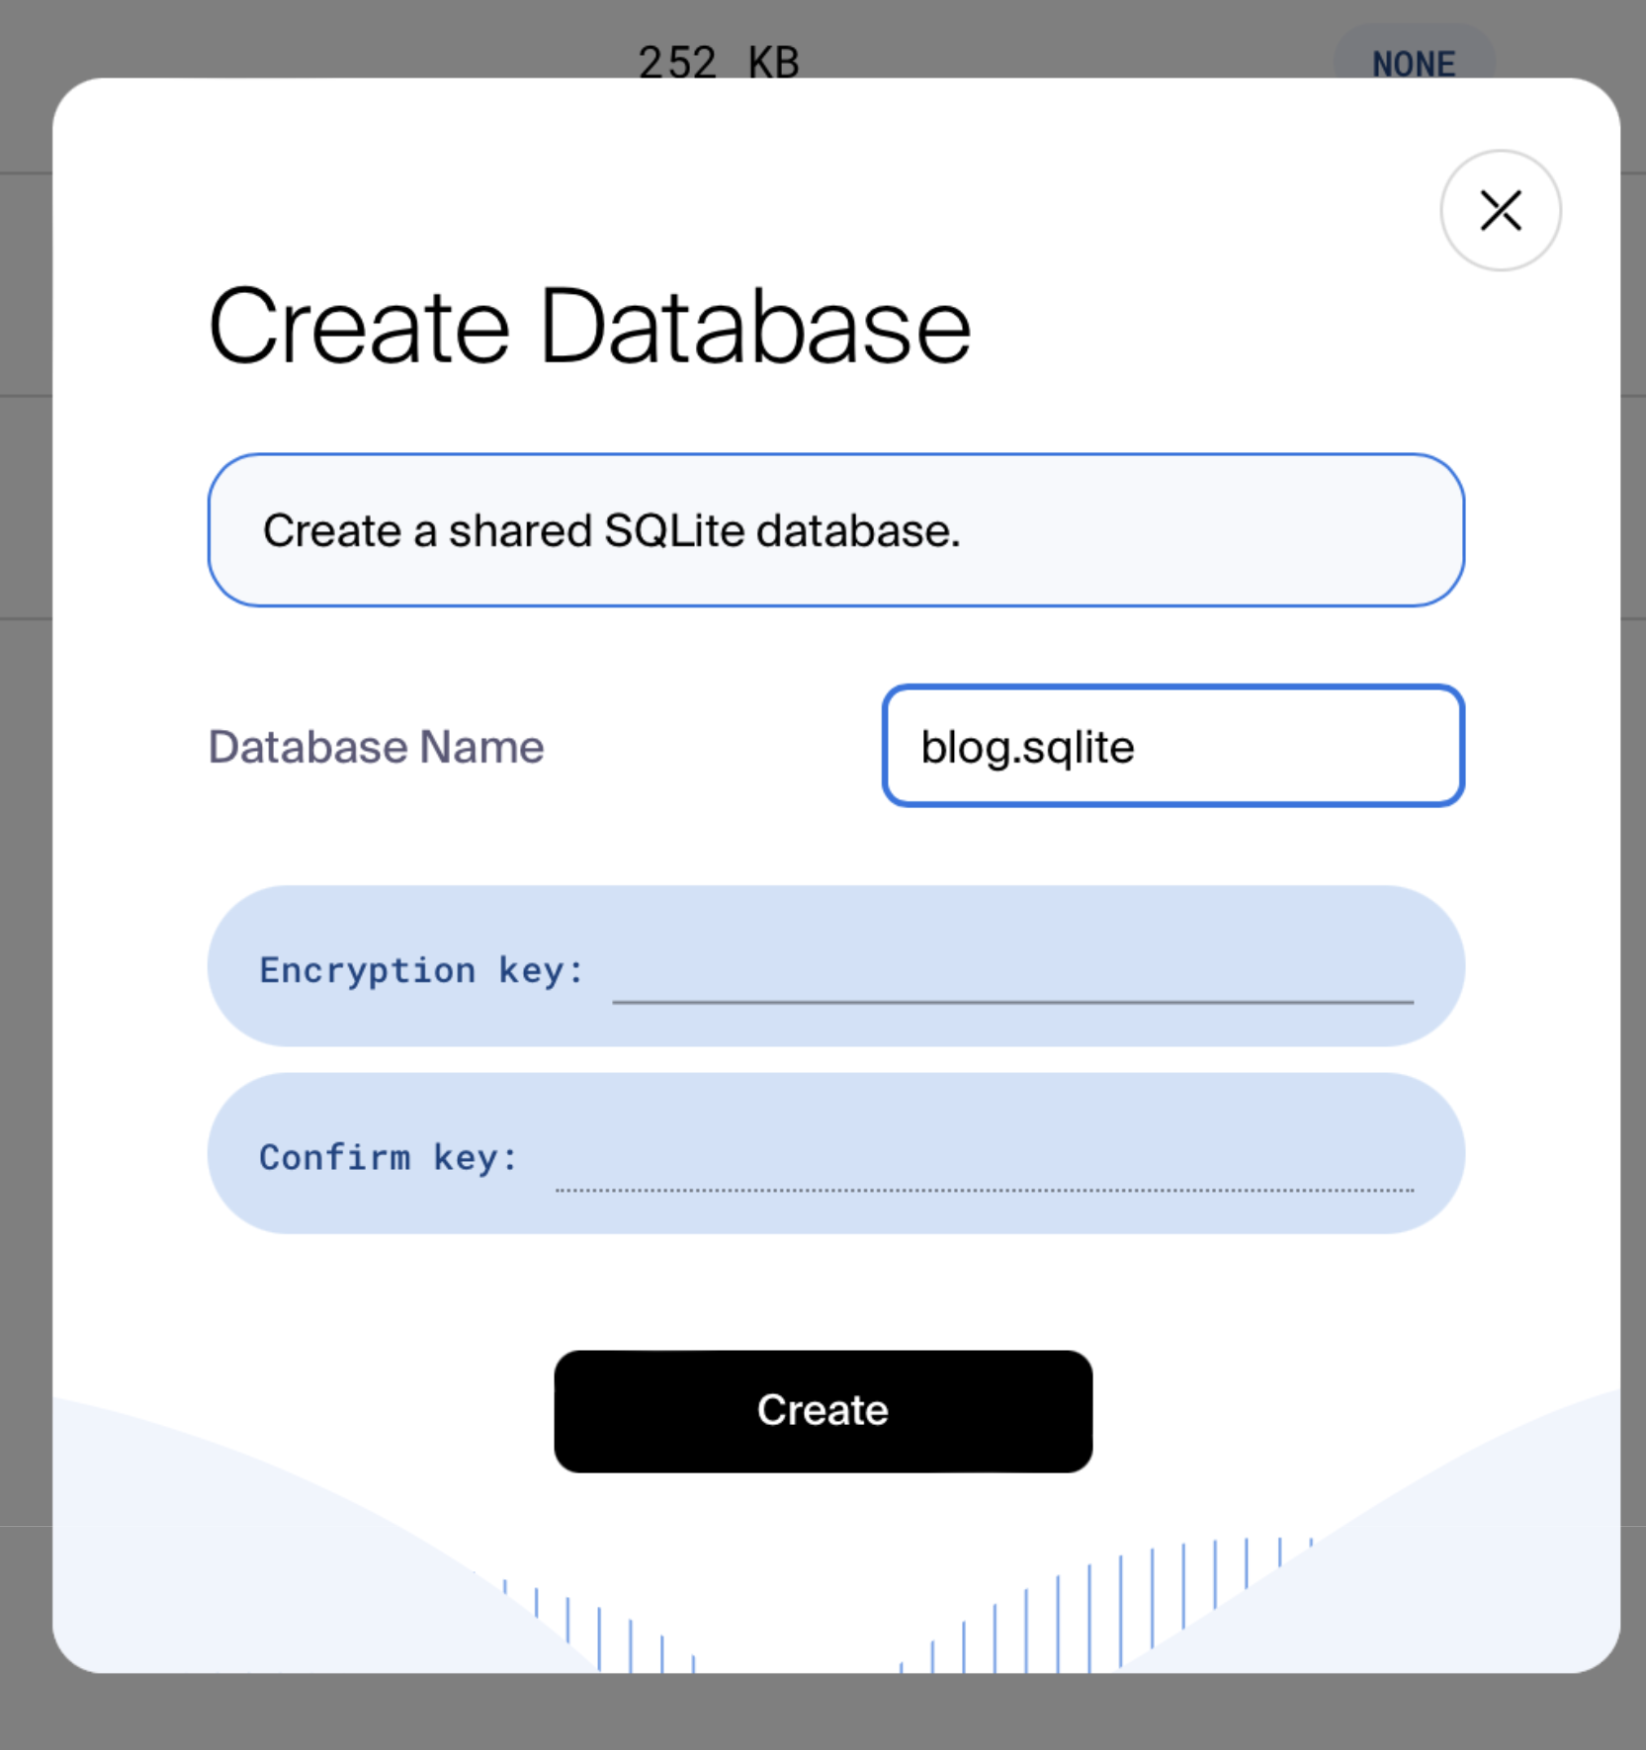
After creating your account and project, navigate to the Databases tab in your new project. Click “Create Database” and create a database. This name will be passed to the GitHub action later.
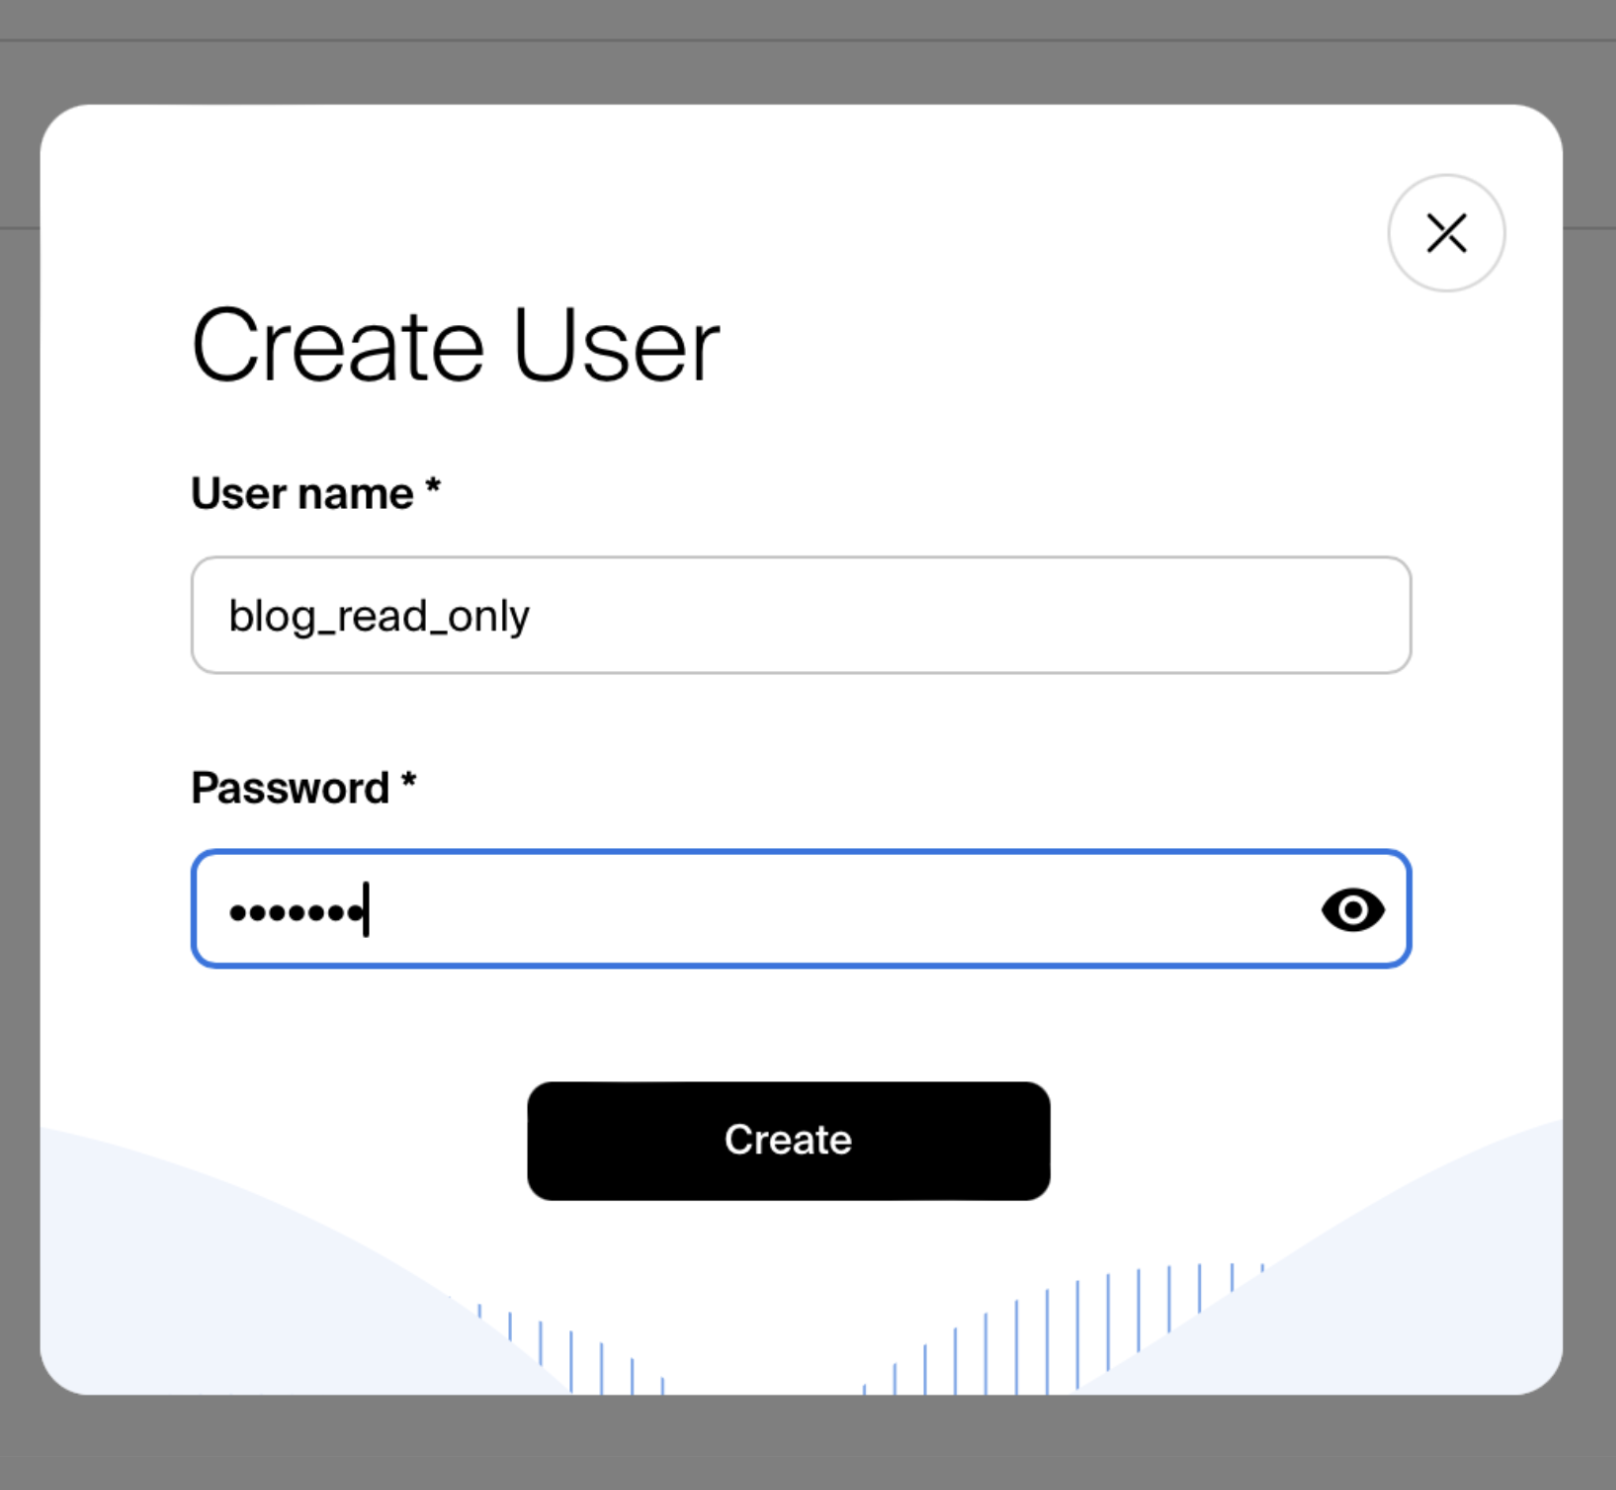
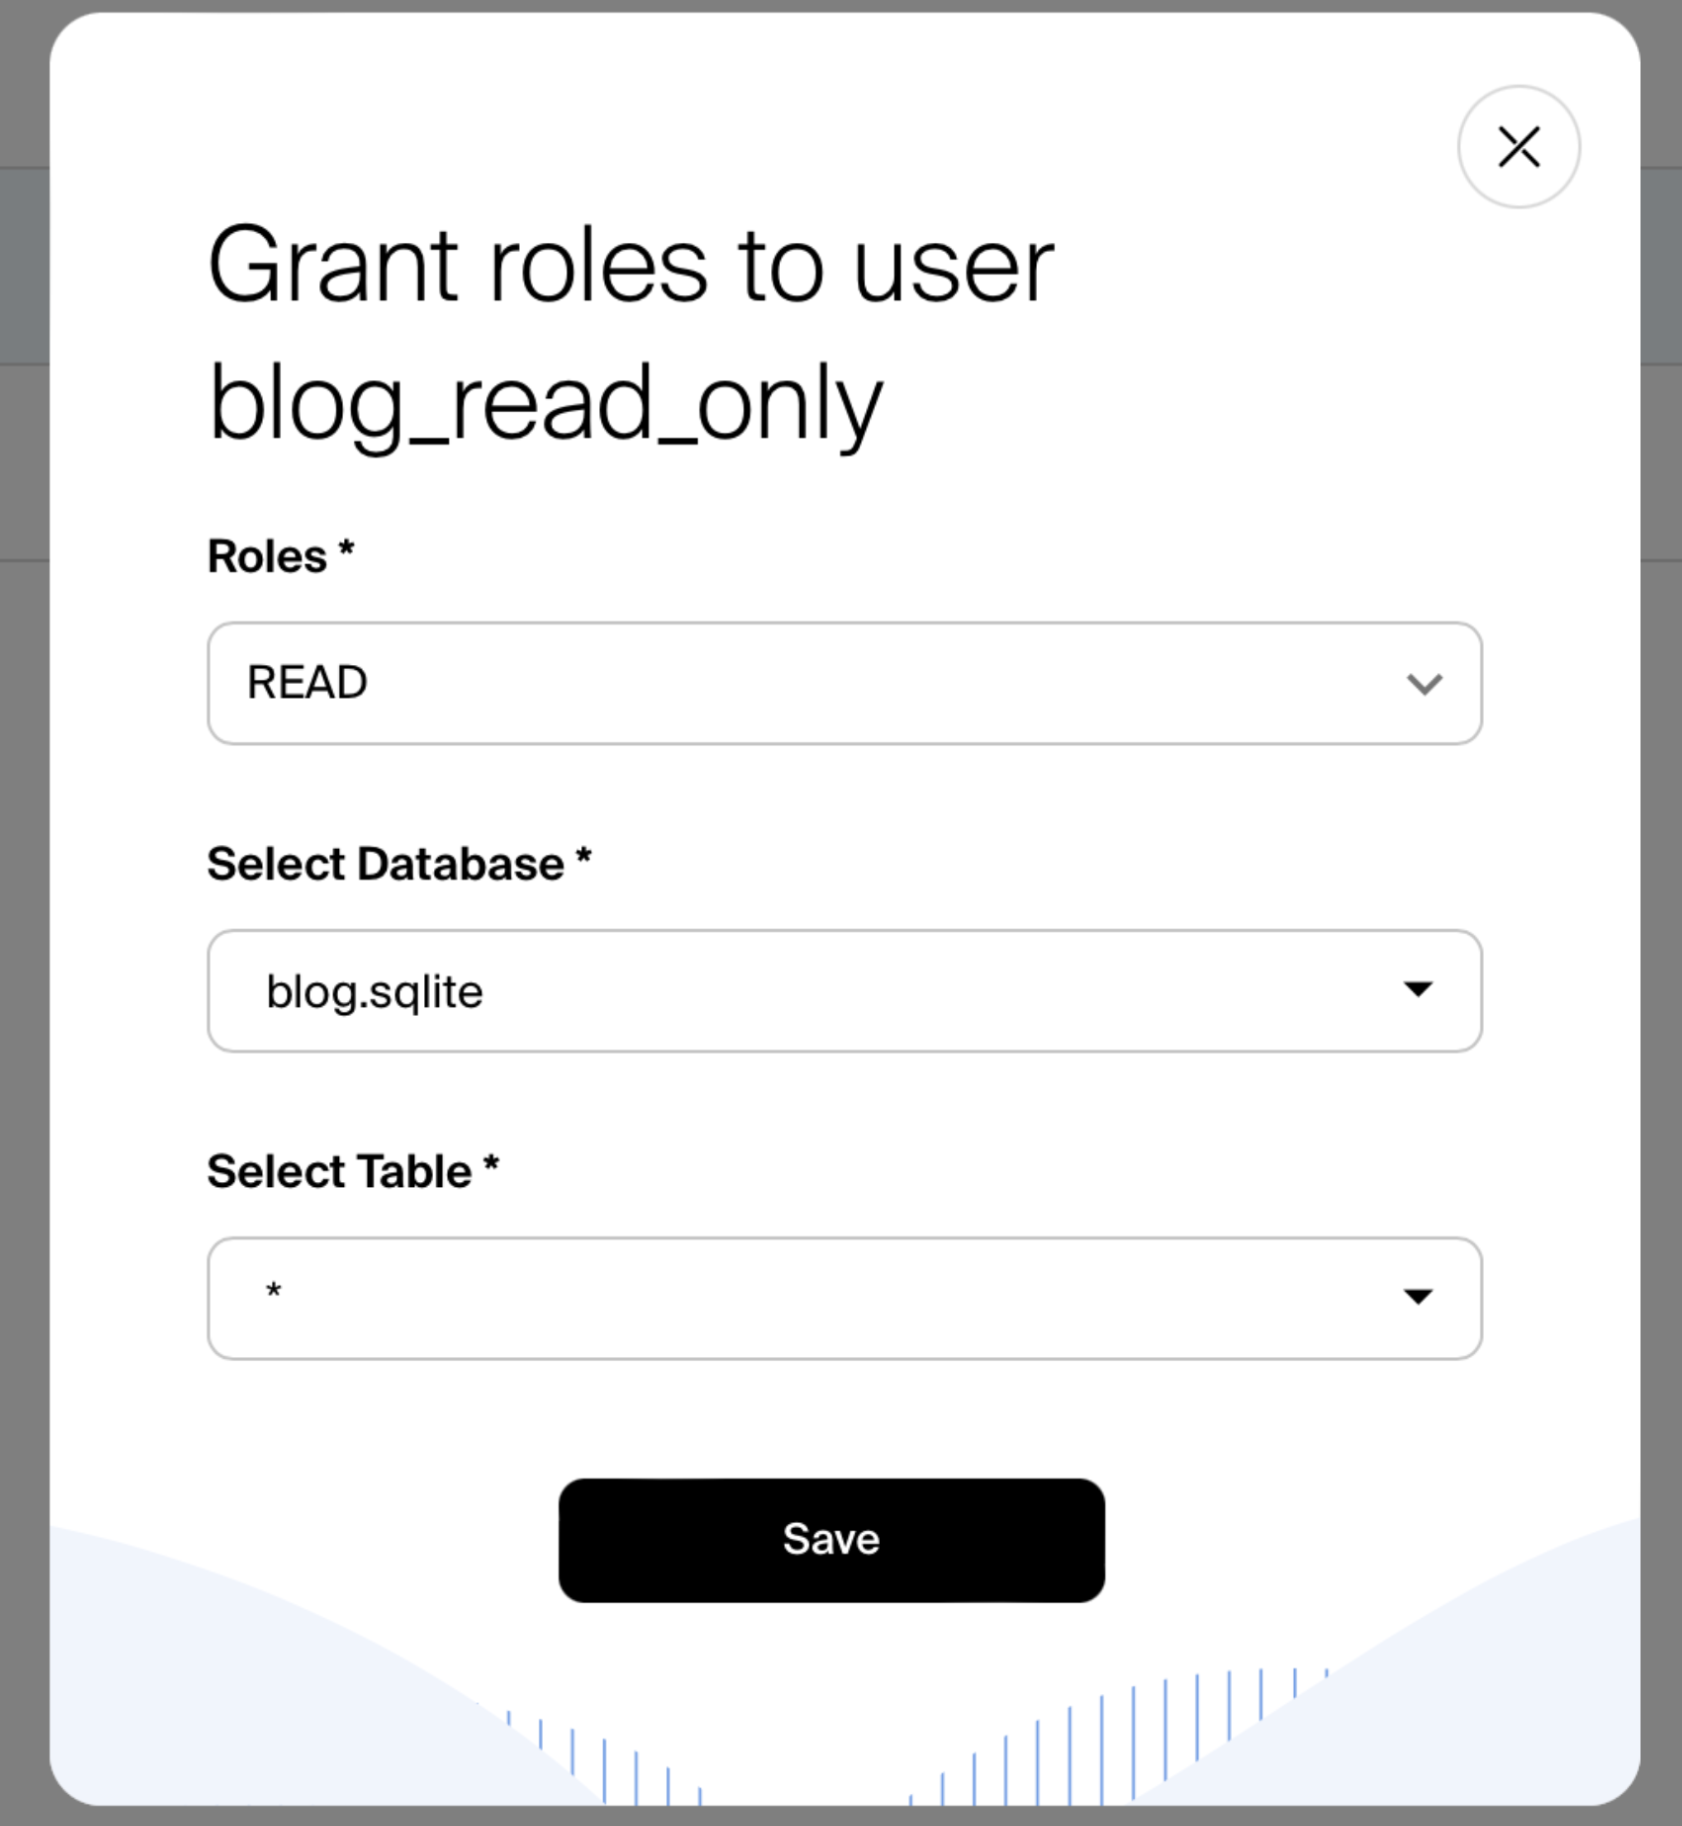
Create a user read-only user that cna access all tables in the newly created database.
Create an API key to be associated with the newly created user.
Step 3: Set up Edge Function
Next, navigate to the “Edge Functions” dashboard. Create an edge function with the below code. Ensure you’ve selected your new database and API key.
Const query = request.params.query;
Const requestid = request.params.requestid
Const res = await connection.sql`SELECT url, options, replace(snippet(documentation, -1, '<b>', '<b/>', '...', 10), x'0A', ' ') as 'snippet' FROM documentation WHERE content MATCH concat(${query}, '*') ORDER BY rank LIMIT 256;`

res.forEach(r => r.options = JSON.parse(r.options))

return {
    data: {
        search: res,
        requestid: requestid
    }
}
Step 4: Add GitHub Action
Now it’s time to add the SQLite Cloud docs search GitHub Action to your blog content repo. The action will ingest your blog’s content into SQLite Cloud. Follow the instructions in the GitHub Marketplace to finish your setup.
Step 5: Use SQLite Cloud headless UI search component
Your database is set up, your data ingested, and your endpoint ready to serve search results.
The last step is to integrate your new endpoint with your Hashnode blog. If you’re in a hurry, we recommend checking out this headless UI search component our team built in React.
Conclusion
And there you have it - your full-text search is ready to go! SQLite Cloud’s free-tier is more than enough to serve traffic across your developer blog. If you need to reduce latencies further, you can check out this documentation to learn how to add nodes to new regions in your cluster.
Until next time!